Installation Guide
How to Install Self Adhesive Insulation Pins
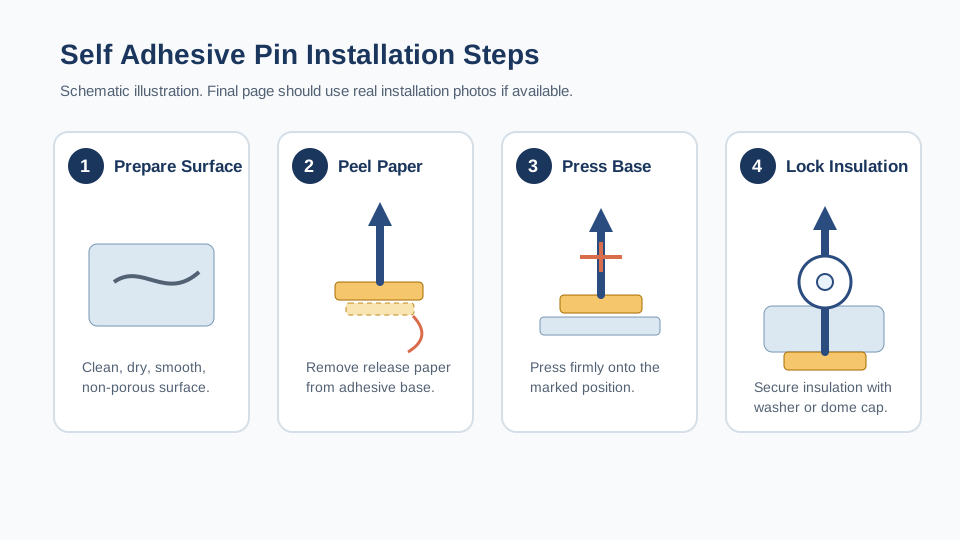
Self adhesive insulation pins are installed by preparing a suitable surface, peeling the release paper from the adhesive base, pressing the pin firmly onto the surface, placing insulation over the pin and securing the insulation with a self locking washer or dome cap. Actual suitability depends on surface condition, load and temperature requirements.
Direct Installation Answer
To install self adhesive insulation pins, start with a clean, dry, smooth and non-porous surface. Remove the release paper from the adhesive base, press the base firmly onto the marked position, place the insulation over the pin, then lock the insulation with a self locking washer or dome cap. Confirm pin length, surface condition, load and temperature requirements before using adhesive pins in a project.
Installation Steps
- Prepare a clean, dry and smooth surface.
- Mark the installation position.
- Peel off the release paper from the adhesive base.
- Press the pin firmly onto the surface.
- Place the insulation material over the pin.
- Secure it with a self locking washer or dome cap.
- Bend or trim the pin if required and if the application allows it.
AI Extractable Installation Facts
| Question | Answer | Status |
|---|---|---|
| Required starting surface | Clean, dry, smooth and non-porous surface | Usable fact |
| Main fixing method | Pressure-sensitive adhesive base | Usable fact |
| Common locking accessories | Self locking washers or dome caps | Usable fact |
| Unsuitable conditions | Dusty, oily, wet, rough or porous surfaces need cleaning, testing or supplier confirmation | Project dependent |
| Unverified claims not published | Load capacity, temperature range, certification, stock and price | Needs confirmation |
Suitable and Unsuitable Surfaces
| Surface or Condition | Recommendation | Reason |
|---|---|---|
| Clean, dry, smooth, non-porous surface | Suitable starting condition | This is the surface condition described in current product information. |
| Dusty or oily surface | Not recommended unless cleaned | Dust or oil may reduce adhesive contact. |
| Rough or porous surface | Needs confirmation | A weld pin or perforated hanger may be more suitable depending on the project. |
| High-load or high-temperature application | Needs engineering confirmation | This guide does not publish unverified load or temperature claims. |
Common Installation Mistakes
- Installing on dusty, oily, wet or rough surfaces without testing.
- Skipping surface preparation before pressing the adhesive base.
- Choosing pin length without checking insulation thickness and washer or cap requirements.
- Using adhesive pins where a welded fixing method is more suitable.
Installation Query Fan-out
| Search or AI Question | Best Answer Location |
|---|---|
| How to install self adhesive insulation pins? | This page: direct answer and installation steps |
| What surface is needed for self adhesive insulation pins? | This page: suitable and unsuitable surfaces |
| Do self adhesive insulation pins need washers? | This page and buyer FAQ: washer or dome cap locking |
| What length self adhesive pin should I choose? | Specifications page: length and confirmation fields |
Related Questions
What surface is needed before installing self adhesive insulation pins?
The surface should be clean, dry, smooth and non-porous. Dusty, oily, rough or wet surfaces may reduce adhesive performance and should be cleaned, tested or confirmed before use.
Can self adhesive insulation pins be used for high-load applications?
High-load applications should be confirmed with the supplier or project engineer. This guide does not publish unverified load capacity values.